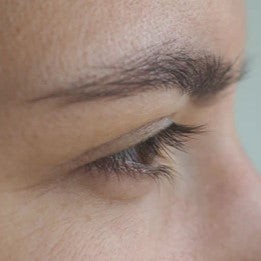
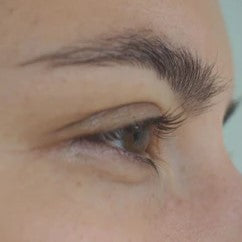
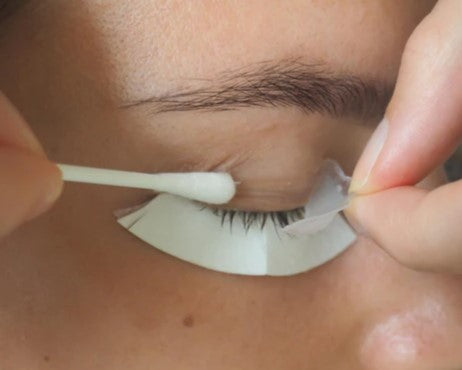
Use the white cotton swab or Y-shape to stick your lashes upwards onto the silicone pad. Gently press the lashes against the pad until they stick. If they don't stick, apply a little more glue and hold the lashes longer. Repeat this step for all lashes.
The perfect eyelash lift
Follow our detailed step-by-step instructions.
It's time for a glow-up.
hazard warnings
Before you start eyelash lifting, be sure to read our safety warnings. They will help you avoid possible risks and achieve the best results.
Preparation
Remove any existing eye makeup and cleanse your eye area thoroughly. For this step, you can use the cleanser - Clean 4 - or your own product.
-----------------------------------
Dry your eye area thoroughly.
-----------------------------------
What you also need:
cotton pads
cotton swabs
garbage bags
timer (smartphone)

1 | Silicone pad - selection
S - Suitable for eyelashes shorter than 6 mm.
M - Creates a gentle swing with a flattened end.
M1 - Rounded curl for medium length natural eyelashes.
M2 - Creates a particularly round bend.
L - Creates an eyelash curl, ideal for long eyelashes from 10 mm to 15 mm.
2 | Fix the silicone pad
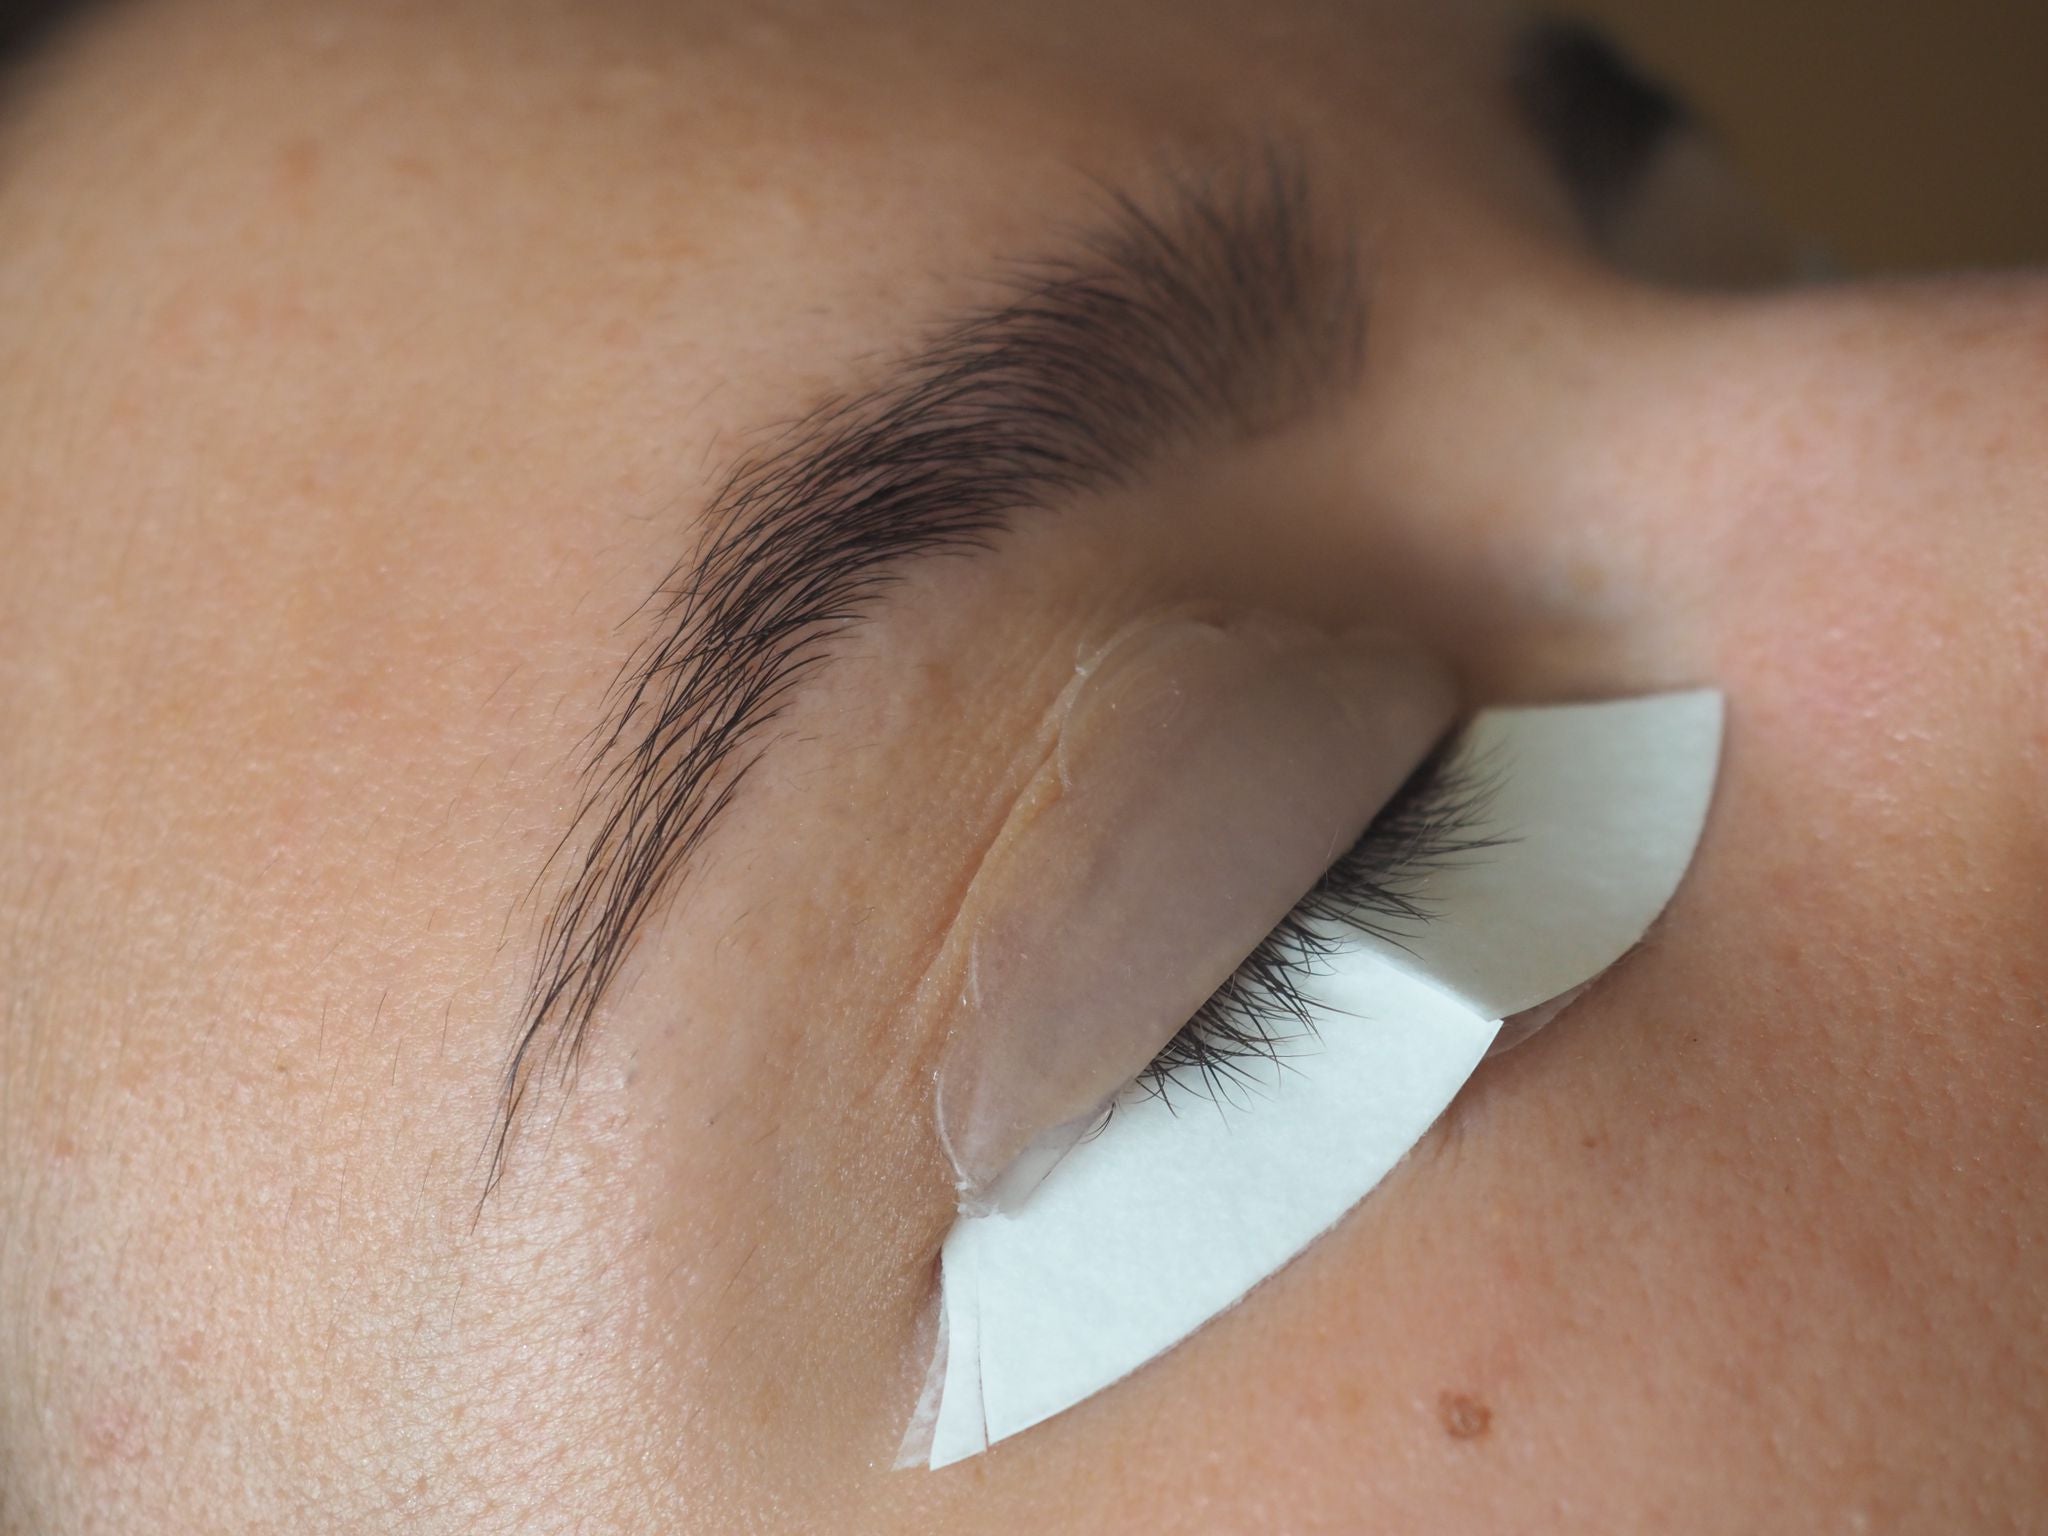
Use the adhesive - Hold - by applying it to the pad and to your eyelid. Press the pad onto the eyelid with your fingers for about 40 seconds until it adheres securely. If the silicone pad does not fit properly, you can apply it to the Cut to desired size.
(If the lift is performed by two people, it is helpful to tape the lower eyelashes.)
3 | Fixing eyelashes
Apply the adhesive - Hold - to the upper half of the silicone pad and wait 20 seconds for the next step.
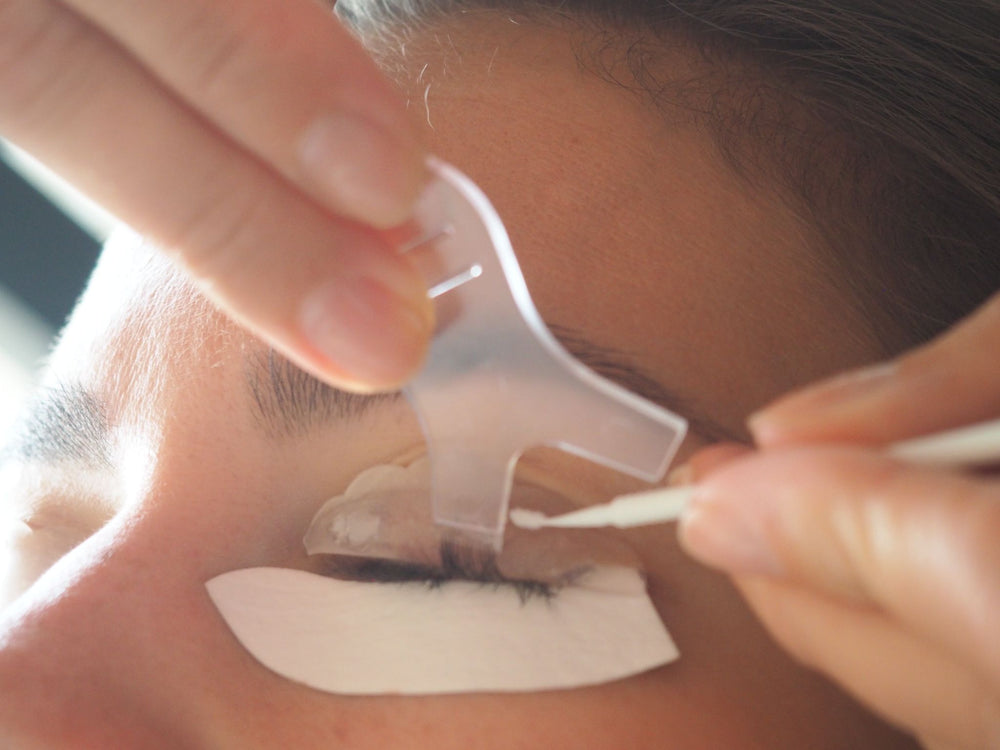
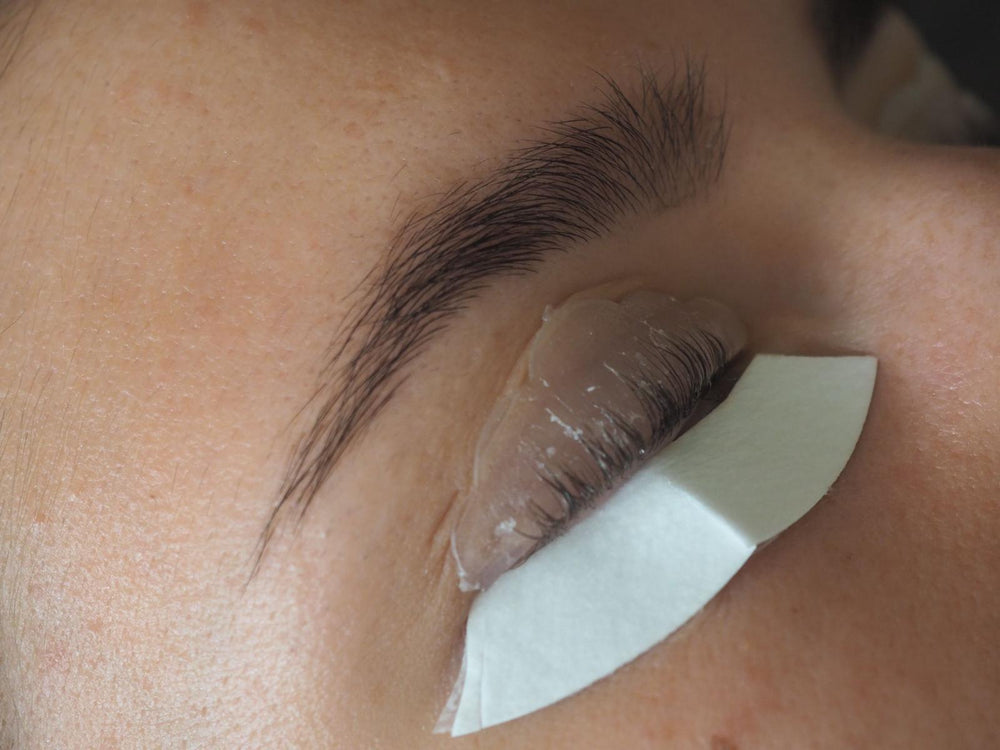
Make sure that the lashes are not glued on top of each other or to the side, but neatly next to each other and pointing upwards. The way you place them now will be curved at the end - so take your time with this.
4 | Perm lotion
--- Lotion Number 1 ---
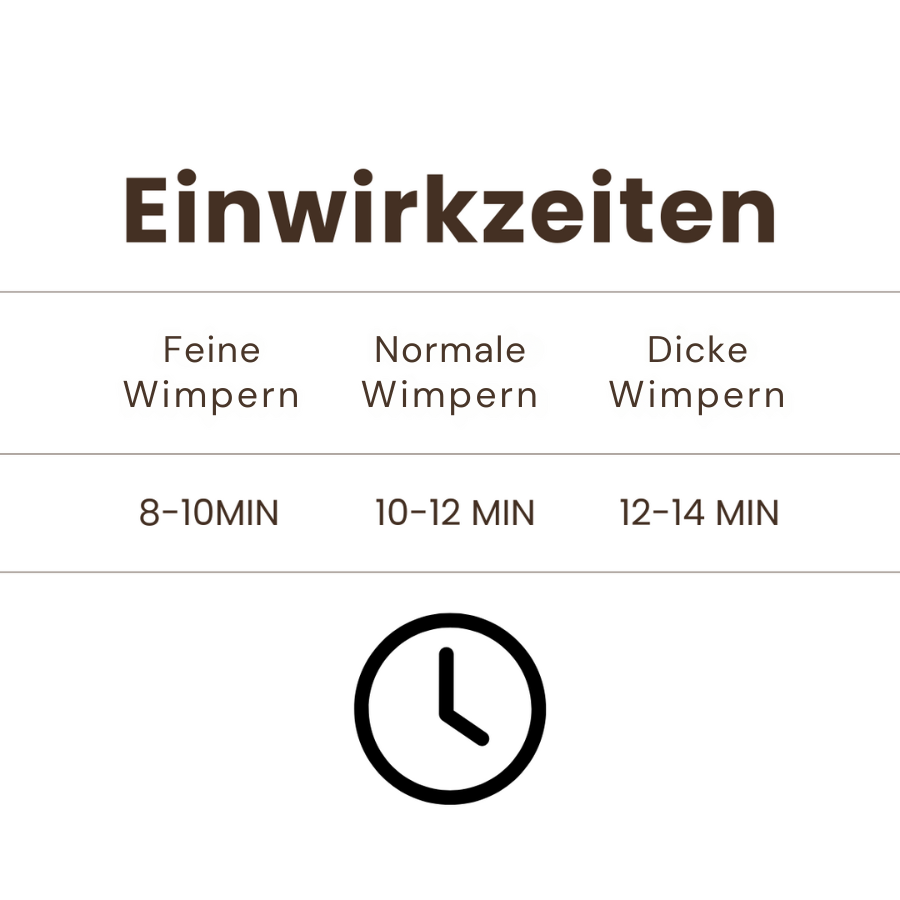
To ensure optimal curl of your eyelashes, it is important to adhere to the exposure times.
Apply the lotion - Lift 1 - to the eyelashes, leaving out the tips.
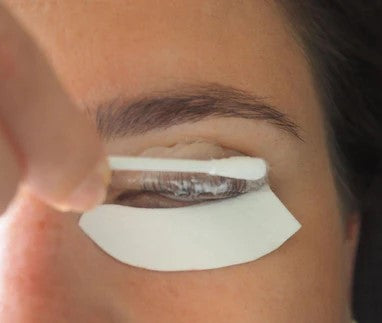
Allow the lotion to take effect and then carefully remove it with a dry cotton pad or the Y-shape.
5 | Fixing lotion
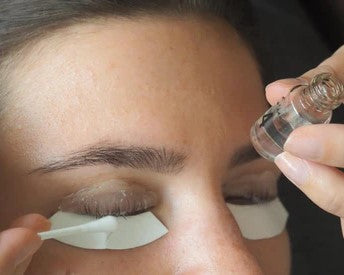
Apply the Fixing Lotion - Set 2 - in the same way as the previous lotion. Leave it on for about 8-12 minutes and then remove it with a dry cotton pad.
6 | Eyelash tinting
If you want, you can now dye your eyelashes.
Mix both liquids together in a 50/50 ratio.
Apply the color evenly to the lashes, from the base to the tips. Leave the color on for 10 minutes and then remove it with a dry cotton pad."
7 | Remove silicone pad
Moisten a cotton swab with the cleanser - Clean 4 - and carefully remove the eyelashes from the cotton pad.
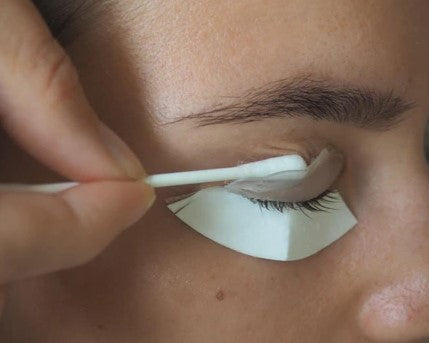
8 | Nourishing Lotion
Apply Lotion - Nourish 3 - with a cotton swab from bottom to top to the entire eyelashes.
Do not remove.
This lotion provides your eyelashes with important nutrients and cares for the structure and suppleness of your eyelashes.
9 | Final steps
Clean the eyelid with the cleanser - Clean 4 - to remove adhesive residue.
-----------------------------------
Comb your eyelashes from bottom to top with an eyelash brush.
-----------------------------------
Protect the eye area from any water and moisture for at least 24 hours to ensure the lifting effect lasts.
-----------------------------------
The eyelash pads can be washed with lukewarm water and reused.
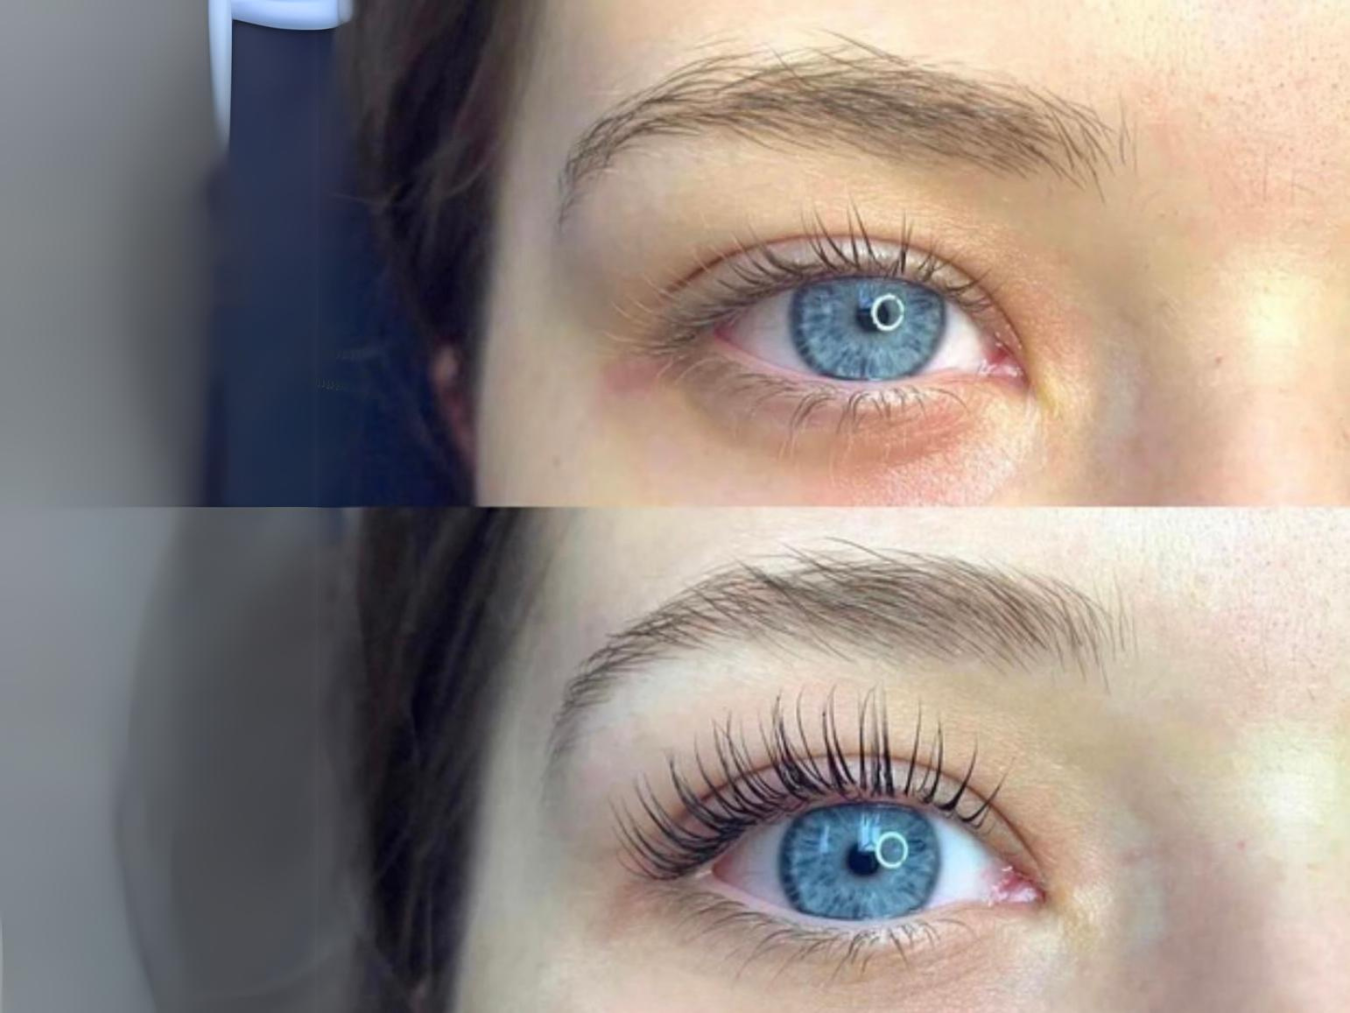
10 | Before - After
